Table Of Content
Opening a crypto wallet is the first step to safely storing, sending, and receiving digital currencies like Bitcoin and Ethereum. It allows you to control your private keys and manage your crypto securely.
How Do I Open a Crypto Wallet?
Getting started with a crypto wallet is easier than you might think. Follow these five steps to choose, install, and secure your wallet properly.
Step 1: Choose the Right Type of Wallet for Your Needs
Before diving in, it’s important to decide whether you want a hot wallet (connected to the internet) or a cold wallet (offline storage). Each serves different purposes depending on how often you trade or store.
Hot wallets offer convenience: Apps like MetaMask or Coinbase Wallet allow you to manage crypto on the go.
Cold wallets focus on security: Devices like Ledger Nano or Trezor store keys offline to prevent hacks.
Consider hybrid use: Many investors use both—hot for daily use and cold for long-term storage.
Because your needs may vary based on your goals, it's worth researching wallet types.
Feature | Hot Wallet | Cold Wallet |
|---|---|---|
Internet Connection | Always connected | Completely offline |
Ease of Use | Highly convenient for daily use | Less convenient, ideal for storage |
Security Risk | More vulnerable to hacks | Highly secure from online threats |
Example Tools | MetaMask, Trust Wallet | Ledger Nano S, Trezor Model T |
Best For | Frequent traders, DeFi users | Long-term holders, large crypto amounts |
- The Smart Investor Tip
Think about how often you'll use your crypto and how much you're storing. If you plan to hold a large amount long term, use a cold wallet for safety.
But if you need quick access for trading or DeFi, a trusted hot wallet makes more sense.
Step 2: Download or Purchase the Wallet
Once you’ve selected the wallet type, it’s time to install it (for software wallets) or buy it (for hardware wallets). Make sure to only use official sources.
Use official app stores or sites: Download MetaMask via Chrome or mobile app stores, or buy hardware wallets from verified sellers.
Avoid third-party resellers: Some resellers tamper with hardware wallets and steal user funds.
Follow setup instructions carefully: Hardware wallets often come with specific setup processes to ensure security.
This step is critical to avoid scams and security flaws. Always double-check URLs and verify manufacturer authenticity before proceeding.
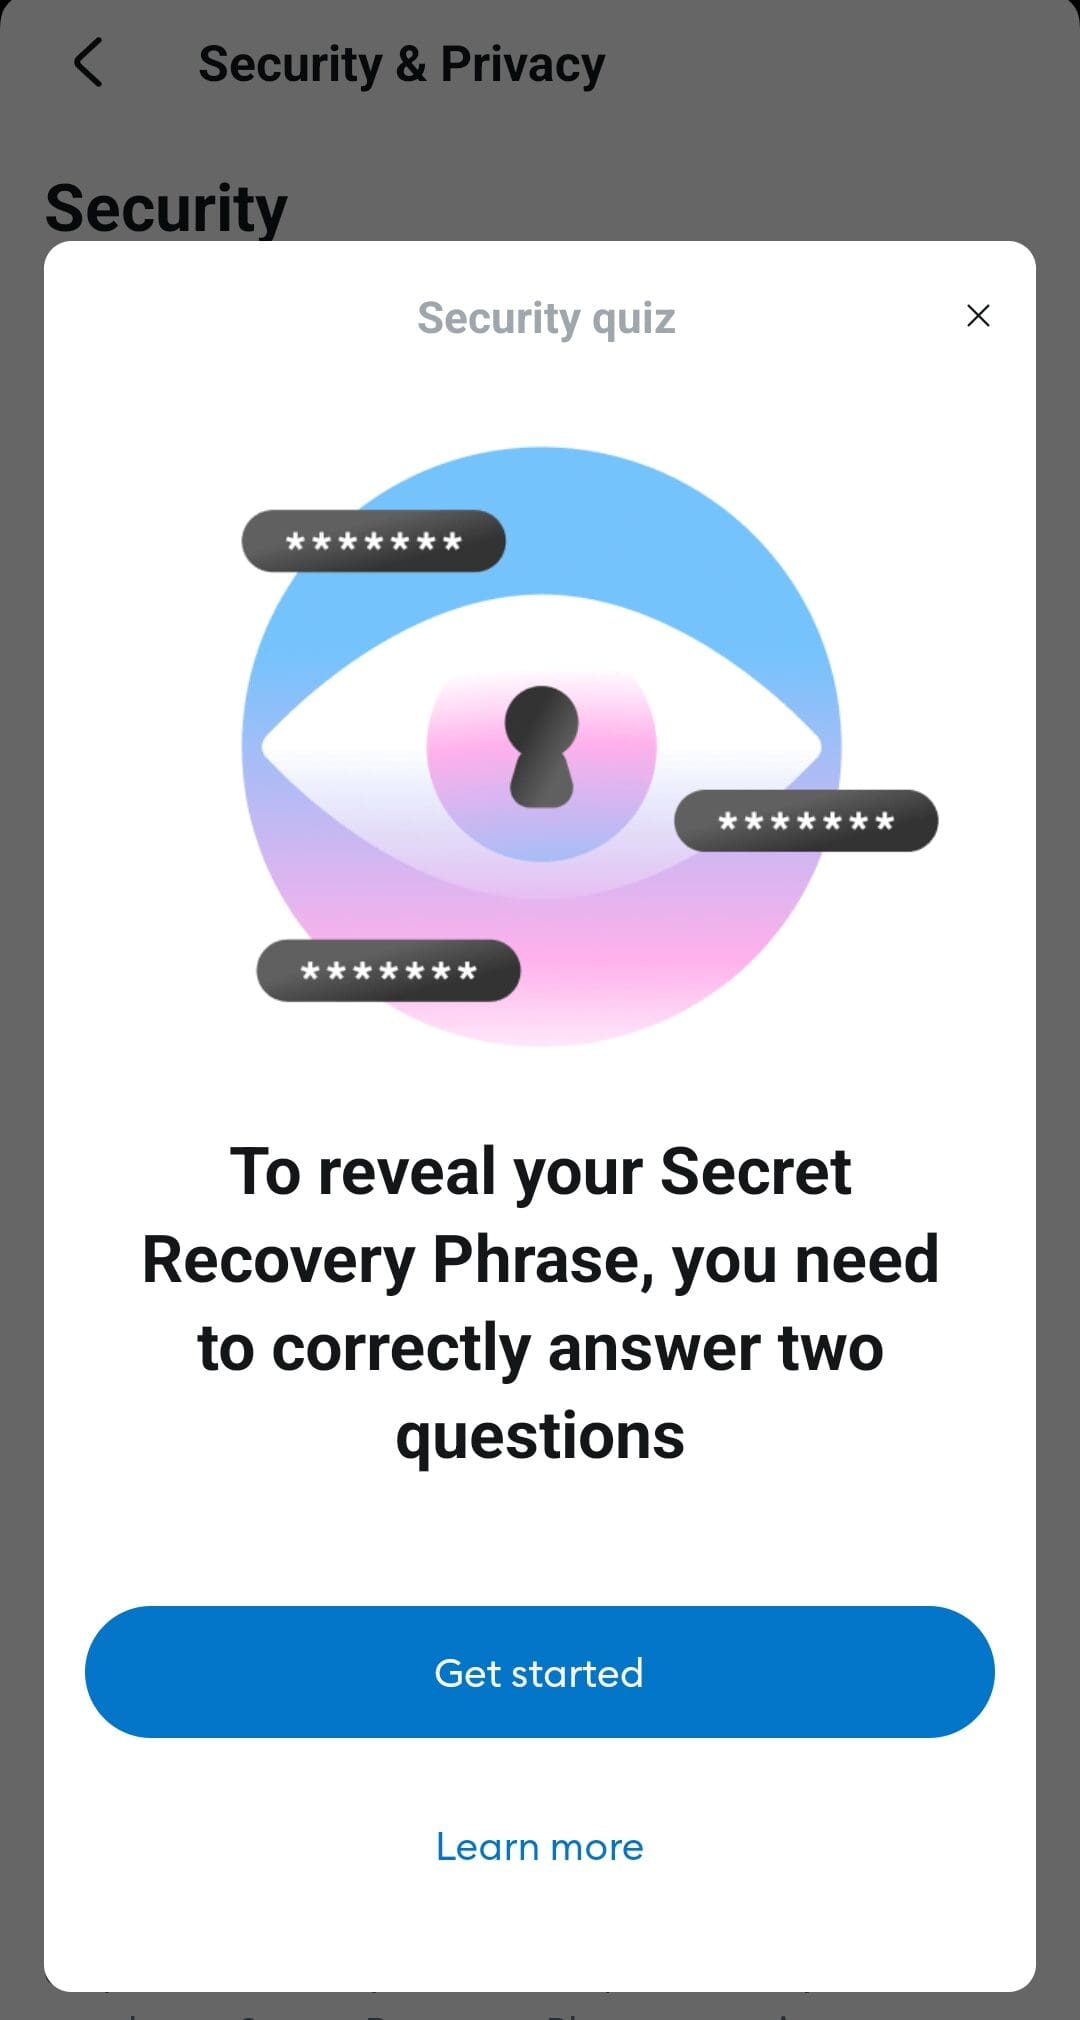
Step 3: Create and Back Up Your Wallet
Now you’ll generate your wallet and receive a recovery phrase—a string of 12–24 words that unlocks your wallet. Backing this up is crucial.
Write it down, don’t screenshot: Physical copies reduce risk of digital theft.
Store backups in secure locations: Use a fireproof safe or safety deposit box if possible.
Never share your phrase: No one—not even wallet providers—should ever ask for it.
This phrase is your lifeline. If your device is lost or stolen, the phrase is the only way to recover your funds. Handle it with the same care as a bank password—if not more.
Step 4: Set Up Security Features
Most wallets allow you to enable additional protections. Taking the time to activate these features can prevent unauthorized access.
Enable two-factor authentication (2FA): Apps like Authy or Google Authenticator offer a strong layer of protection.
Set up a strong PIN or password: Avoid obvious choices like birthdays or repeating digits.
Keep software updated: Updates often include patches for known vulnerabilities.
Because wallet hacks typically target weak security, these features reduce your exposure. Prioritize security before making your first transaction.

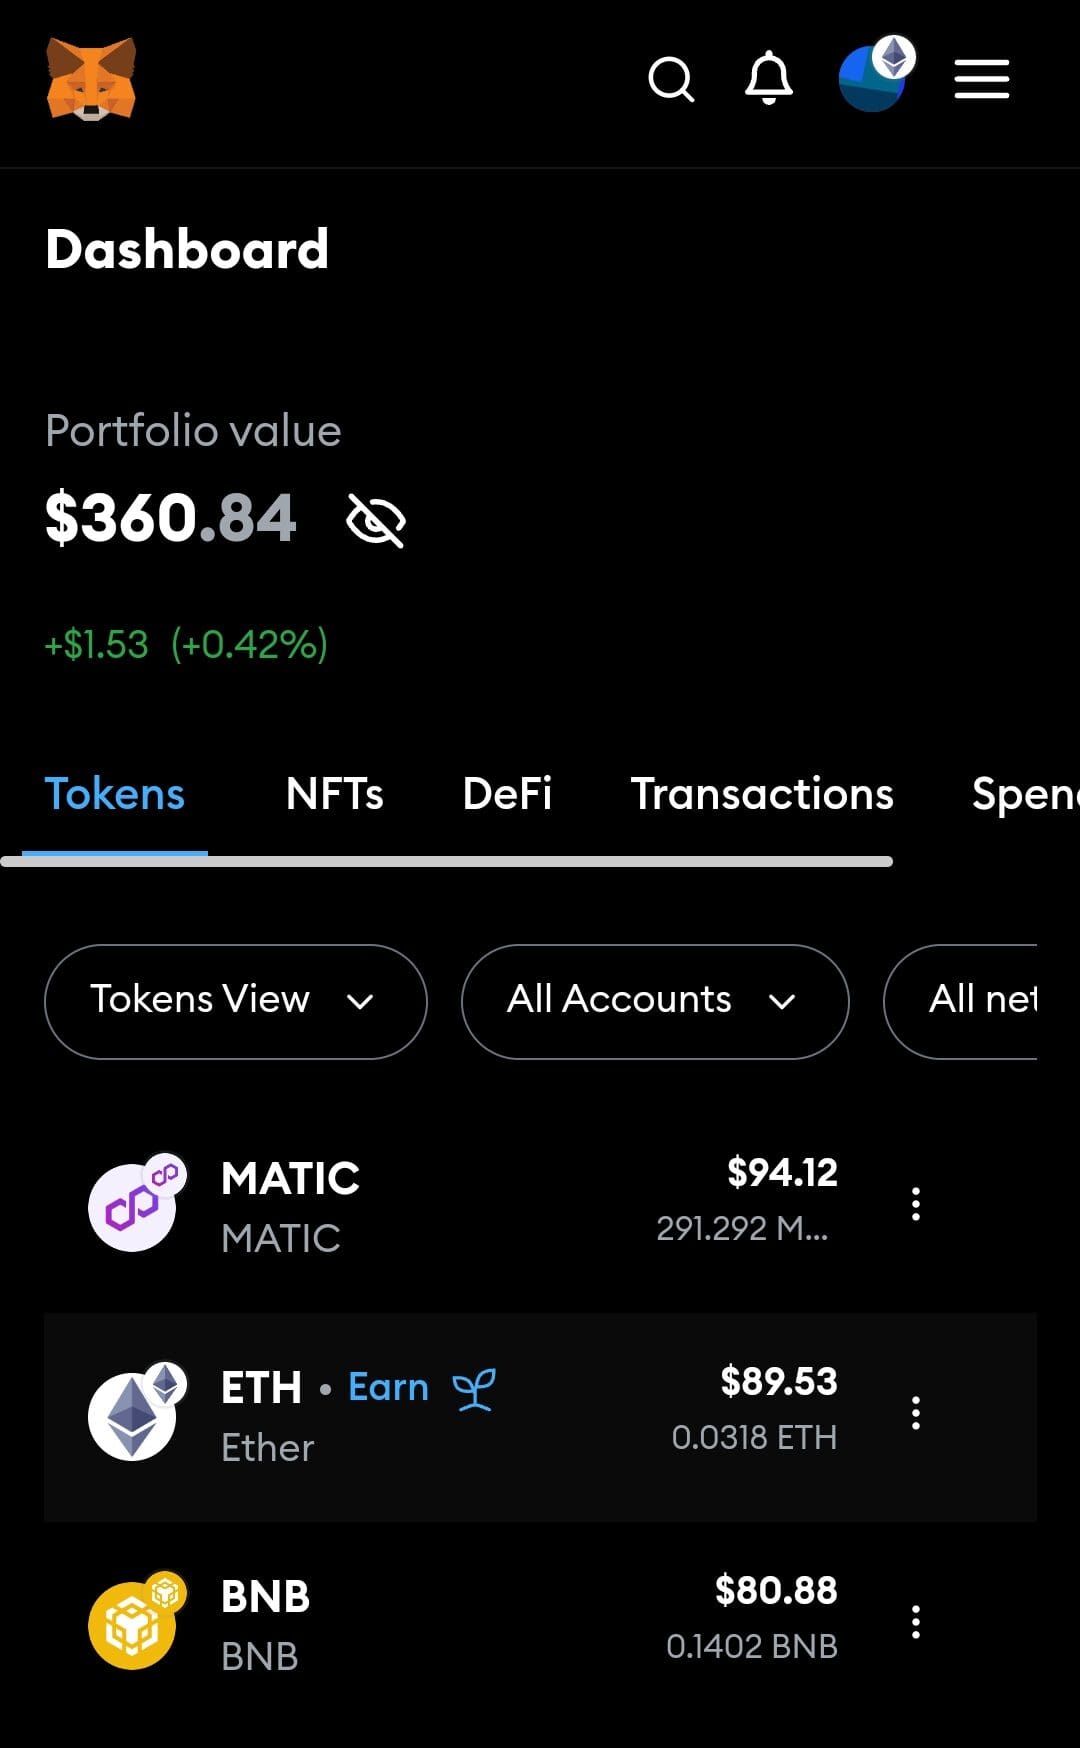
Step 5: Add and Manage Your Crypto Assets
Once your wallet is secure, you can start receiving and managing cryptocurrencies. Each wallet gives you a public address to share for receiving crypto.
Use the correct blockchain address: For example, don’t send Ethereum to a Bitcoin address.
Test with a small transaction first: This ensures everything works before transferring larger amounts.
Track balances and activity regularly: Most wallets let you see real-time balances and transaction histories.
As a result, your wallet becomes a personal hub for crypto management.
Whether you're holding Bitcoin long term or exploring DeFi apps, your wallet plays a central role in how you interact with the crypto world.
How to Choose the Right Crypto Wallet for Your Needs
Choosing the right crypto wallet depends on your goals, how often you transact, and your preferred level of security.
Use hot wallets for quick access: If you trade daily or use DeFi apps, hot wallets like MetaMask or Trust Wallet are more convenient.
Cold wallets for long-term holding: Hardware wallets like Ledger or Trezor offer strong offline protection for those holding Bitcoin or Ethereum for years.
Mobile wallets for ease on the go: Wallets like Coinbase Wallet or Exodus work well if you need access while traveling.
Multi-currency support matters: If you hold a mix of coins, pick a wallet that supports various tokens and chains.

Popular Crypto Wallets for Beginners
New to crypto? These beginner-friendly wallets balance ease of use with good security and reliable support.
Coinbase Wallet: Ideal for beginners because it integrates with Coinbase and supports NFTs and Web3 apps.
Trust Wallet: Backed by Binance, it supports thousands of assets and intuitively interfaces for mobile users.
Exodus Wallet: Great desktop and mobile wallet with built-in portfolio tracking and no account required.
MetaMask: Especially popular for Ethereum and DeFi users, with browser extensions and mobile compatibility.
Each of these wallets is free to use and provides beginner-friendly support.
Platform | Supported Coins | Swap Fee | MetaMask Wallet | +16 | 0.875% |
|---|---|---|
Coinbase Wallet | +3,000 | 1% |
Trust Wallet | +5,000 | 0%
Users still need to pay blockchain network fees (gas fees) and potential liquidity provider fees when swapping assets |
Ledger Hardware Wallet | +5,000 | About 0.25%
The Swap service is facilitated by third-party providers such as Changelly and ParaSwap, each with their own fee structures. For instance, Changelly charges a transaction fee of approximately 0.25%. |
Exodus Wallet | +300 | 0%
Users still need to pay blockchain network fees (gas fees) and potential liquidity provider fees when swapping assets |
Crypto.com OnChain | +1,000 | 0.3% |
How to Transfer Crypto to Your New Wallet from an Exchange
Once your wallet is set up, transferring crypto from an exchange like Coinbase or Binance is a simple but crucial step.
Copy your wallet’s public address: Always double-check you’re using the right network (e.g., ERC-20 for Ethereum).
Log in to your exchange account: Go to your exchange’s withdrawal section and paste your wallet address.
Choose the correct coin and amount: Mistakes in coin selection or address format can result in lost funds.
Complete two-factor authentication: This step protects against unauthorized withdrawals.
As a result, your funds will usually arrive within minutes, depending on network congestion. Use a small test transfer first to ensure everything is working as expected.
FAQ
A wallet address is like your public username for receiving crypto, while the private key gives access to your funds. Losing the private key means losing control of your wallet.
No, you can open a crypto wallet without owning any crypto. It simply sets you up to receive and manage assets later.
Yes, many users have more than one wallet—for example, using MetaMask for Web3 and Ledger for cold storage.
Software wallets are typically free to download. Hardware wallets like Ledger or Trezor require a one-time purchase.
Some wallets support multiple blockchains, but others are chain-specific. Always check compatibility before transferring coins.
Without your recovery phrase, you won’t be able to recover your wallet. Always back it up in multiple secure, offline places.
Yes, many wallets like Exodus or Trust Wallet offer both mobile and desktop versions, while MetaMask has browser extensions and mobile apps.
Exchange wallets are custodial—meaning the platform controls your keys. Personal wallets give you full control over your crypto.
Check reviews, security audits, and if it supports features like 2FA and seed phrase backups. Stick to trusted names like Ledger, MetaMask, or Trust Wallet.
